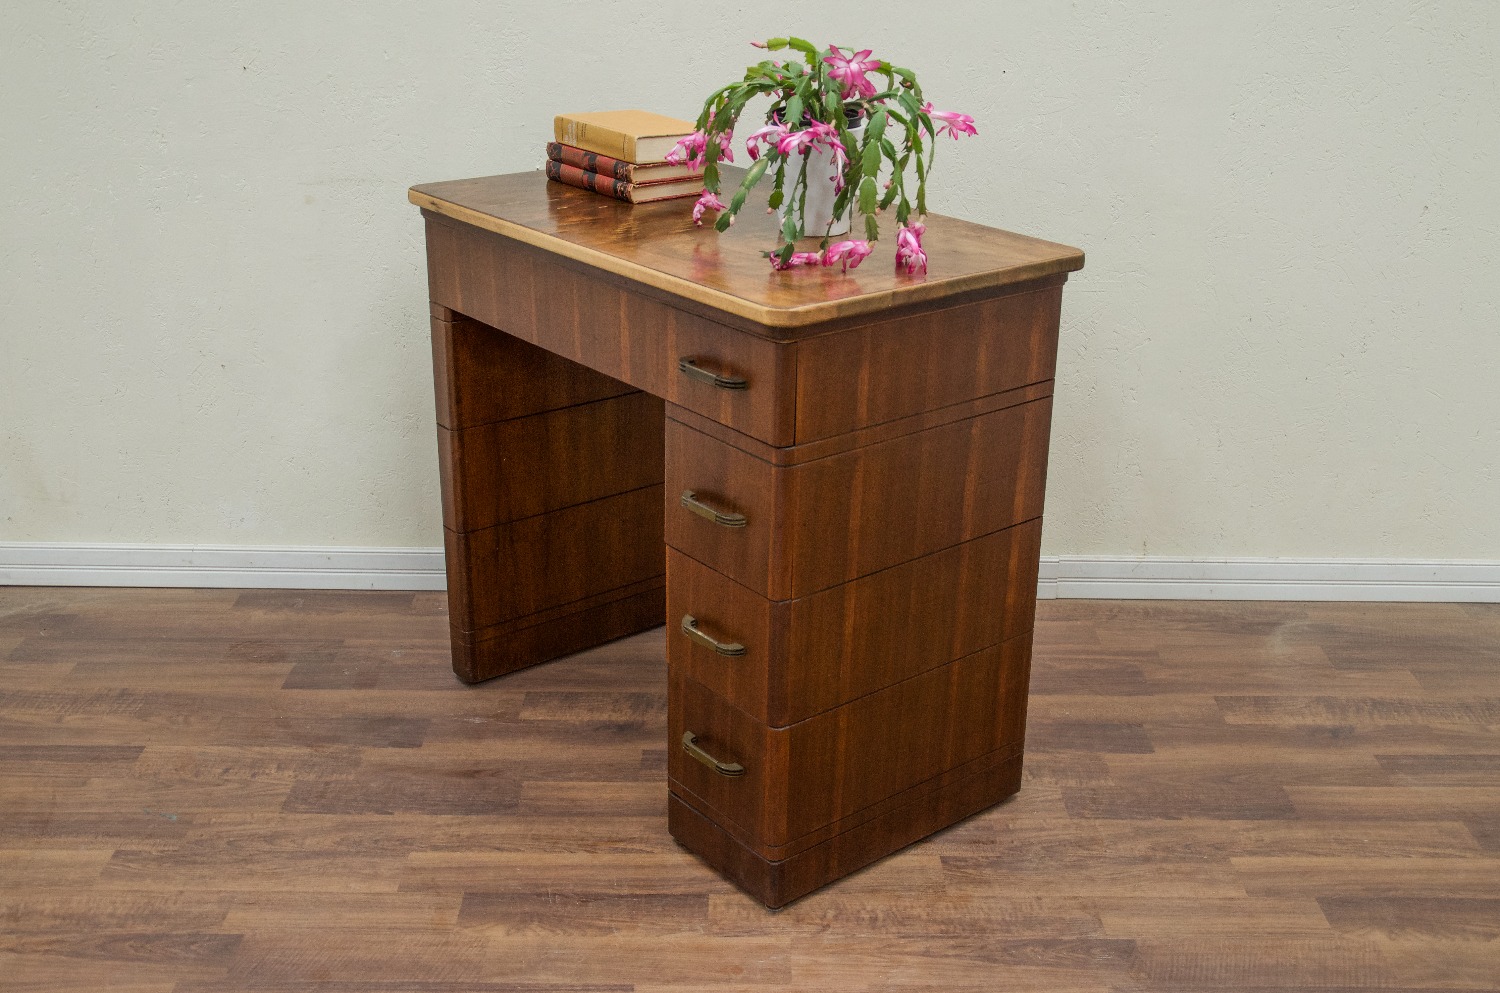
One of the hallmarks of mid-century furniture – those simple yet elegant pieces built in between 1945-1960 – is the stunning woodgrain of the veneer coated exterior. What is veneer? Veneer is the thin slice of wood – often the thickness of paper – that is glued to the exterior of doors, cabinets and furniture. Veneer is an easy way to make a beautiful piece extraordinary, but over the years it easily scratches and dents. Luckily, mid-century furniture is still popular today and well worth the time to refinish. Plus, refinishing veneer is easy to sand and a weekend of hard work will result in a stunning dresser, desk, table or chair that you’ll cherish for years to come.
A note on sanding veneer: Veneer is often made of hardwood species, meaning it has a hardness factor that works in your favor when faced with sanding. Before starting, check the thickness of the veneer. Older or higher quality pieces often have thicker veneer, newer or low quality pieces have thinner veneer. You can often see the thickness of veneer on the edges and corners. When refinishing veneer furniture, it’s important not to over-sand a project, otherwise you’ll break through to the plywood below. Too little sanding won’t remove all of the scratches and dents. We recommend having a variety of grits, 100, 120, 320. The lower the number, the more abrasive the grit. Working in small sections, start with a light sand with 100 grit, then move on to 120, and finally 220 or 320 for a smooth finish. Always test each grit on a small, hidden section like inside a drawer or under a leg to ensure you have the proper sandpaper grit.
To begin, gather your supplies: damp and dry rags, vacuum or shop vac, screwdrivers, sanding block, orbital sander, different grit sand papers, tack clock, stain, & protective clear coat. And remember, always wear your PPE – safety glasses, respirator, gloves and sturdy shoes.
- Wipe down the piece with a damp rag. You may need some elbow grease or Goo Gone to remove stubborn dirt and gunk. Follow this up with a dry rag to help clean up any leftover residue.
- Remove all hardware, handles, drawers, doors and legs. You want to ensure that you sand and re-stain every nook, cranny, edge and inside corner.
- Starting with 100 grit sandpaper, sand the entire piece lightly to remove stain and finish – legs, drawers, sides and around trim. The 100 grit will get rid of gunk and finish. If the sandpaper gums up, move to a rougher grit like 80 grit. If you start wearing through the finish and veneer, move back up to 100 or 120. Use a sanding block to get into corners and tight spots, sand by hand when you’re working around rounded bits like legs, and use a palm or orbital sander for large surfaces like drawer faces, sides and tops.
- After the initial sanding, vacuum with a soft brush. Then use tack cloth for pulling dust and fine particles off. With dust and particles removed, you’ll be able to see how much sanding is required for deeper imperfections.
- Next sand for imperfections using 120 or 220 grit sandpaper. Sand the piece evenly, don’t stick in one spot or you’ll wear a divot in the veneer. For a smooth finish, sand with a fine grit of 320 or more.
- Repeat step 4, gently sanding until you’ve reached your desired doneness.
- Choose a stain and test it. It might be that your piece has retained some of the original stain color. Test your new chosen stain inside a drawer, underneath or in the back to ensure that the final color is to your liking. Let it dry completely before moving on. After staining the piece, coat it a clear protective finish to protect against water damage and scratches. Read our blog on matching stain to help you match this piece with others around your home.
- Reattach the hardware.
Let us know how it goes! Share your photos with us on Facebook, or send them to us at bham@re-store.org.