By David Spangler, Revision Division Designer & Builder
Matching new stains to old wood and old stains when I am refurbishing vintage furniture is a bit of trial and error. While it’s never perfect, I can get pretty close with the amount of stain tones available and the types of woods I typically use. Sometimes, it does not come out like I hope it will, but in this line of woodworking, imperfections are actually welcome as they give a certain warmth, and a story.
First of all, in order for staining to go as well as possible, I need to do prep work on all sorts of things ahead of time. I often have to carefully repair, trim, or sand damaged veneers which show both unwelcome woods beneath and/or old glue areas that don’t stain as well. Areas that have been previously glued usually do not take stain very well, so, I sand these as much as I can, but glue can go deep and I am not always successful in sanding it out completely. On my self-crafted fir cabinet legs, the summer growth rings of softwood don’t accept stain but I stain them anyway and keep moving. On neglected furniture, old finishes sometimes need to be sanded right down to the bare wood or they won’t accept a new stain. If this needs to happen on a veneer, I am careful not to sand too deeply, as all veneers, by nature, are thin.
I have a collection of rub on/rub off Min-Wax oil stains of about twenty tones, in pints and quarts, and to match a stain I go by the color on the cans and the tone names. Almost all my stains are Min-Wax brand because 1) I prefer its liquidy nature over other, thicker stains, and, 2) it was a stain and finish all in one. I grab a few cans that are as close as possible in the particular tone I’m seeking, as I’m never quite sure which one is going to be the right one.
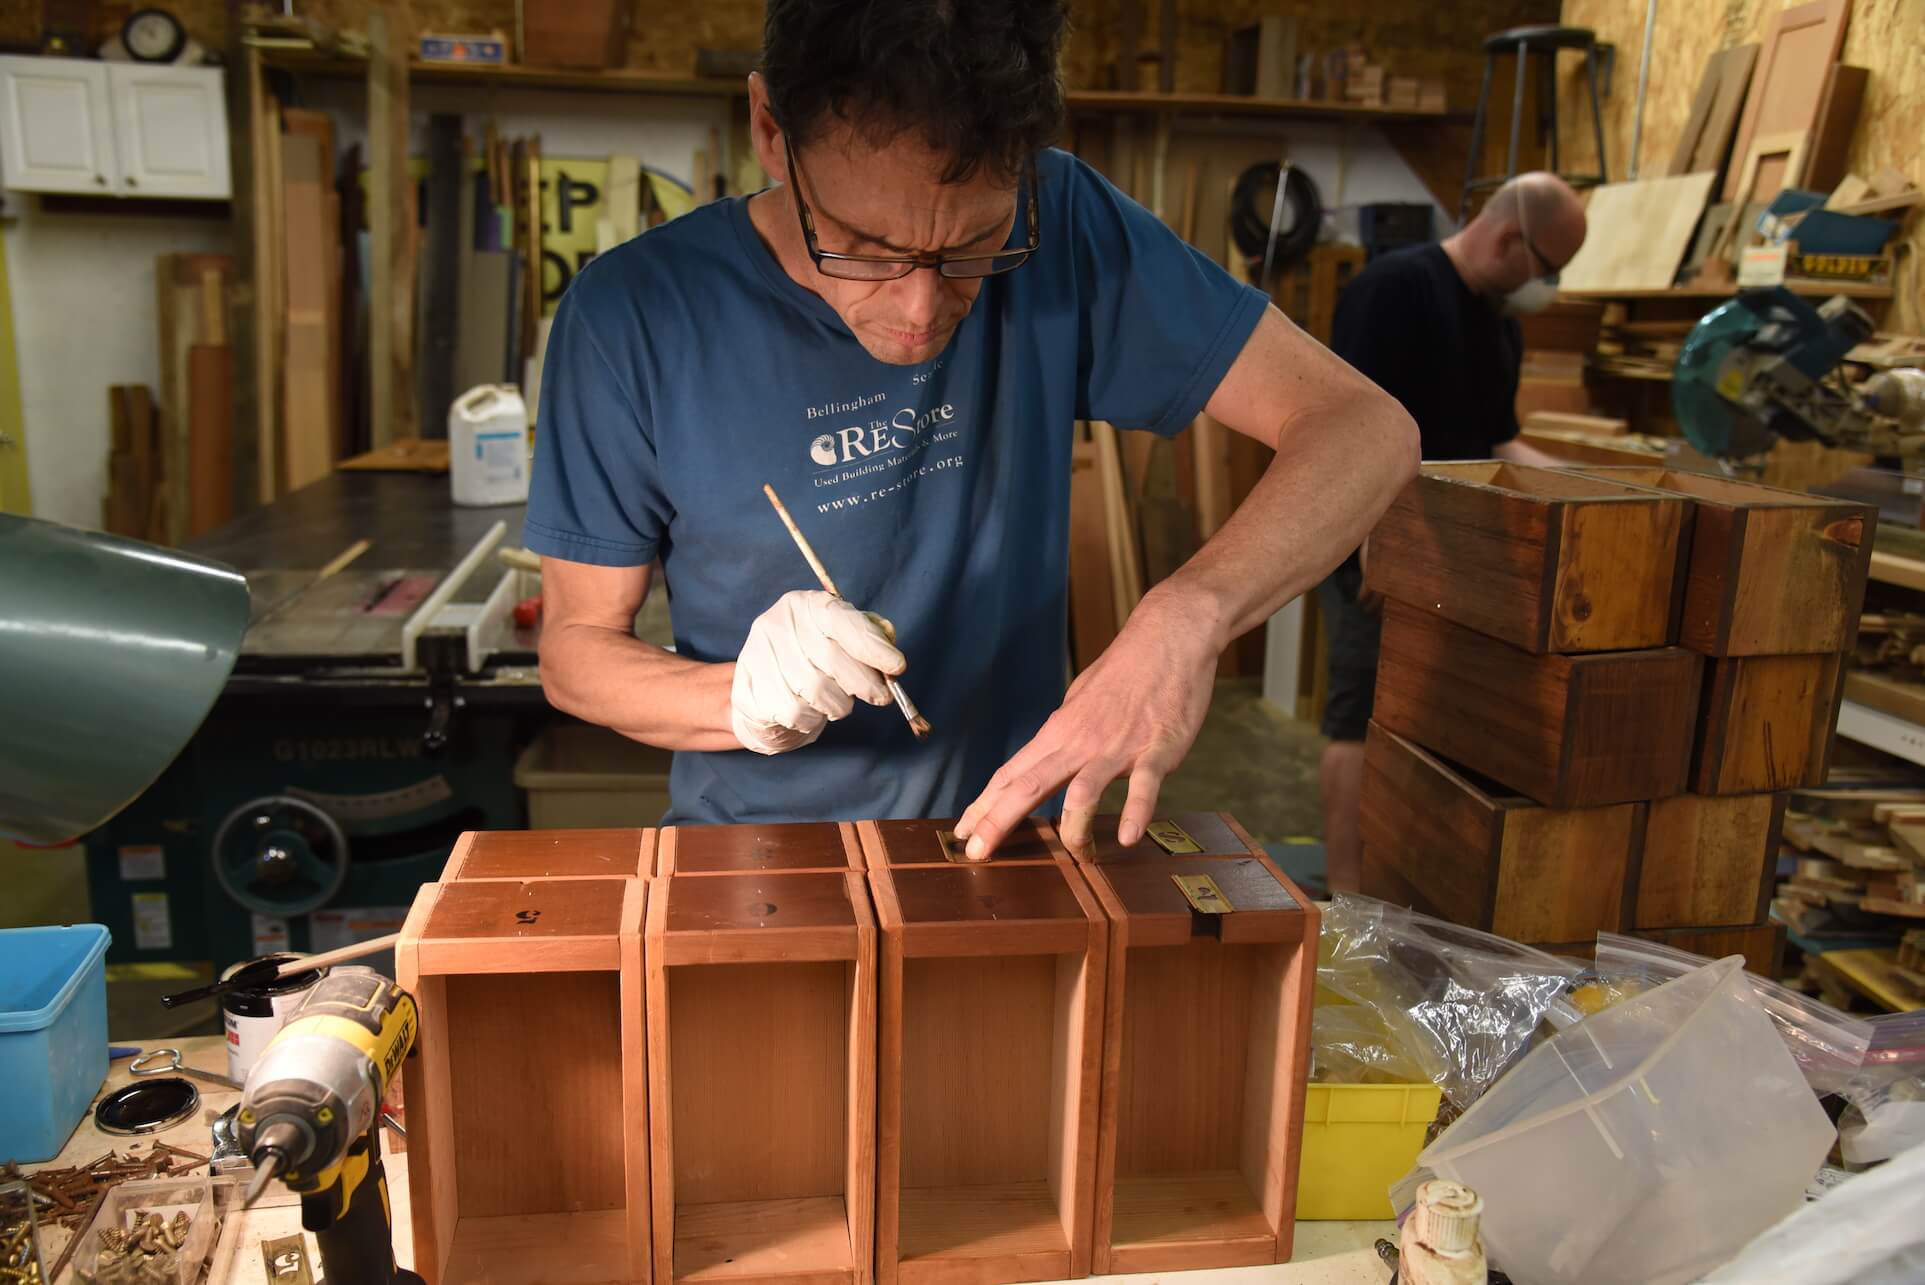
A bit on safety: since oil stains off-gas volatile organic compounds, I always use my respirator with a volatile organic compound filter to keep my exposure to the absolute minimum. I also wear rubber gloves, without any holes, to protect my hands and fingers from absorbing the stain.
For best accuracy, I keep scraps of wood from the particular project I am about to stain as it is the best way to know just how each stain will look. If that is not possible, I find the closest wood I can from our scrap shelf – usually the same type of wood or something close. As stains can settle over time, I always stir to get the solids back into the solution for best results. Testing stains on scraps of identical wood is very helpful to move ahead with confidence on the actual piece.
Using a rag, I dip it in the stain, rubbing the scrap of wood on the edge grain AND the end grain as the difference can be as stark as night and day. (Sidenote: To solve this issue of severe stain contrast between edge grain and end grain, I sometimes use a different, lighter stain on the end grain.) Then, with a different rag, I wipe off the excess stain. In finding the best match, I always test going from the lightest stain first, moving onto the darker stains. This comes in handy when I am testing on the only wood have–the furniture piece itself. Once a stain is chosen, I am on my way.
However, if my project involves matching the silvery tone of fence boards, the process is very different. When I am ready to stain my edge and end grains, I find a very glossy piece of finished wood or a plate of glass to use for a pallet. I place a dab of Varathane’s “Weathered Gray” stain on one side and a dab of Min-Wax Special Walnut or Dark Walnut on the other, mixing them in the middle as I am staining. The result is wonderfully effective on any freshly cut ends or ripped sides of those weathered cedar boards.
Final note: Howard’s Restore-A-Finish, is another approach I use to refinishing a piece that has very little finish damage. On appropriate pieces like these, it allows me to avoid using any stains at all, and I like that it is a wipe on/wipe off product; that it dries within seconds, is nice and liquidly, and easy to use. After lightly sanding or not at all, Restore-A-Finish is sometimes all I need to bring something beautiful back to its former glory.
So, there you are! My process is an imperfect science of the alchemy of matching stains and wood. It is trial and error, and test samples. It is practice, failures, successes, and letting go. And with each piece, I’m still learning!