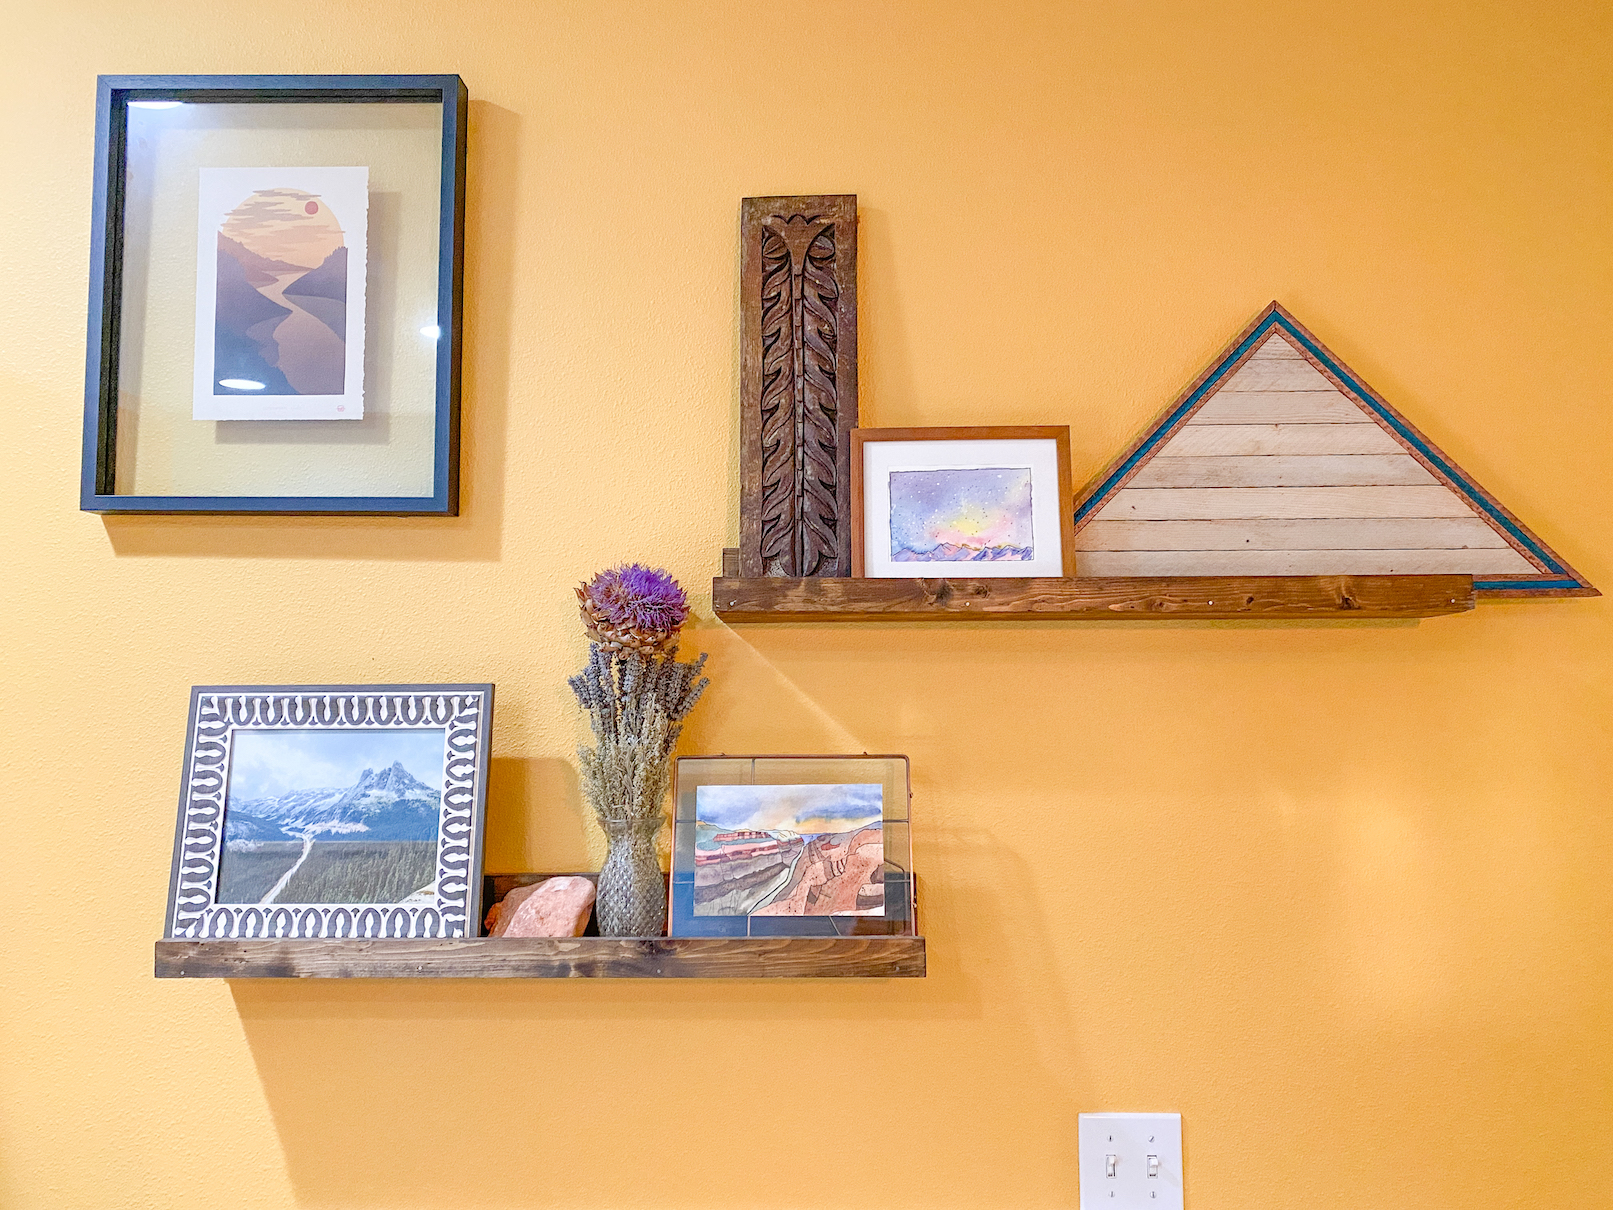
Artists on Pinterest, Etsy and Instagram have become popular in the past few years for turning salvaged wood into beautiful works of art that honor the history of salvaged wood. Lath strips are one of the most popular woods used in these projects, as they often have unique saw marks and rough faces. When put together in various patterns, they have much more character than newer, smoother lumber. These small wooden strips, salvaged from homes built in the 1700’s-1940’s attached to the framing of older homes to hold up plaster. We’ve recently received thousands of strips of lath and are going to break down one of the best beginner carpenter art projects: wall hangings.
There are a few basic steps to create art pieces using lath: process the lumber, design your piece, build your art piece, and prep it for installation. Before you begin, gather your supplies. You’ll need lath strips, ¾” plywood backing board, a stiff bristle scrub brush or power drill with bristle attachment, soapy water and bucket, saw(s), pencil, tape measure, speed square or ruler, wood glue, nails, nail gun (or hammer), paint and hanging hardware. And remember, always wear your PPE – safety glasses, respirator, gloves and sturdy shoes.
Processing
Processing and cleaning salvaged lumber is important if you’ll be cutting it and placing it inside your home. Depending on how long it has been entombed in the dusty structures of homes and businesses, it has likely accumulated its fair share of dust, dirt and other potentially harmful particles. Processing lumber releases lots of dust and it’s extremely important to do this in a well ventilated area. It’s also vital that you wear a dust mask or respirator to protect against wood dust and other harmful particles that may be on the wood.
-

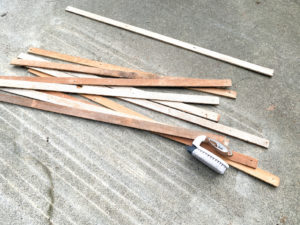
Be sure to scrub and wash your lath well to get dirt, dust and debris off. To process your lumber, you’ll first have to remove any remaining nails. Lay it out on a flat surface, like a garage floor, workbench or saw horses with nail points facing up. Long flexible pieces like this need to be supported to not break, so hang the piece with the nail over the edge of your working surface. Using a hammer, gently hit the nails backwards out of the boards.
- Next, clean the lumber. Lay all pieces out on a ground or bench and scrub vigorously with a rough bristle scrub brush to remove packed on dust and debris. Vacuum the residue with a HEPA vacuum. If you don’t have a HEPA vac, spray the debris with water and then sweep up. The water cuts down on dust, ensuring your lungs and body stay safe from harmful particles long after you’ve taken your respirator off.
- Scrub the lumber with soapy water and rinse. Let dry in a warm dry spot.
Design your piece
Head to the internet for inspiration. Get creative with your piece, using the unique texture and character of the materials and your personal style to make it your own.
Build your art piece
This process is made easier if you have access to a variety of motorized saws, however it can also be done with a pinch of creativity and hand tools. A circular saw is helpful for cutting your backing board. A chop saw or mitre saw is great for cutting consistent angles. For cutting long pieces in half, often called ripping, a table saw is great. If you’re working with hand tools, get yourself a nice sharp hand saw and mitre box.
- Cut a piece of ¾” plywood to use as your backing board.
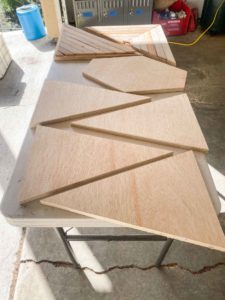
- Select your lath pieces. As lath can vary slightly in size and shape, you may want to either A) work with a flexible design that allows for varying widths, or B) use your table saw to cut all of your boards to the same width. Determine which option you want to go with before proceeding.
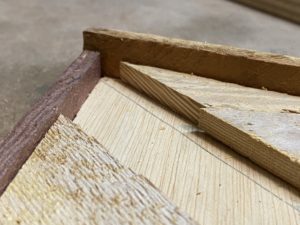
- Determine if you want a frame or if you want the piece to be without frame. If you want a frame, use the table saw to cut enough pieces to the width you’d like. If you’d like your frame flush with the top of the design, measure the thickness of your lath plus backing board. If you want the frame piece to be slightly raised above the design, determine how much to add to the first measurement. A lip of ⅜” – ¼” looks nice. Set your table saw to your desired setting and cut boards to your specifications.
-
Your lath wall art can have a raised frame (right) or flush frame (left). Using a table saw, cut your frame pieces to your desired width. With your design in mind, cut your lath pieces to fit. Place them on the backing board as you go to ensure they fit properly. Imagine this step as fitting together a puzzle with pieces that aren’t yet the right size.
- If you want to paint or stain any of the pieces, do that now.
- When you’ve achieved your design and fit, affix each piece on at a time using wood glue and your chosen hardware. If you’re working with hand tools, go with pin nails and a hammer. If you are using power tools, pin nails and a pin nail gun work wonders. We used an Arrow pneumatic pin nailer and it worked like a dream.
- Start from one corner or side and work to the other. A great place to start is by affixing one piece – either an edge or trim piece and then affixing other pieces in relation to that.
Prepare it for installation
- To help your piece last the test of time, consider coating it with a clear finish.
- If you’ll be hanging it, attach hangers on the back. Good options include keyhole hangers and d-ring hangers. You can even stretch picture wire across if you only have one hanging hole in your wall. One tip to help it sit flat, stick felt bumpers onto the edges furthest away from the hanging hardware.
