By David Spangler, Revision Division Designer & Builder
I had been very curious about reinventing tired, vintage, modernist dressers, especially the low value ones covered in formica photo-laminates. My first foray painting laminate furniture was when a modernist dresser showed up on our sales floor. It was ugly and I ignored it for months, focusing instead on faster furniture projects that are easier to refurbish.

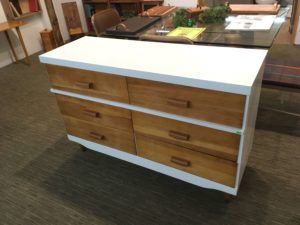
But I liked its mid-century modern lines and reconsidered it as a candidate for an overhaul once it was destined for the lawless frontier of our free area. It needed minor repair, and had some side water damage but otherwise it was mostly built of solid cedar – my kind of project.
I did some research and discovered that it is indeed possible to paint photo-laminates. Excited by this news, I brought the dresser into our shop. I removed one of its tacky gold handles and began exploratory sanding on a drawer face to see if I could also easily remove the paper laminate. In minutes, a beautiful cedar face began to show through. I was very happy to see this, and it was game on!
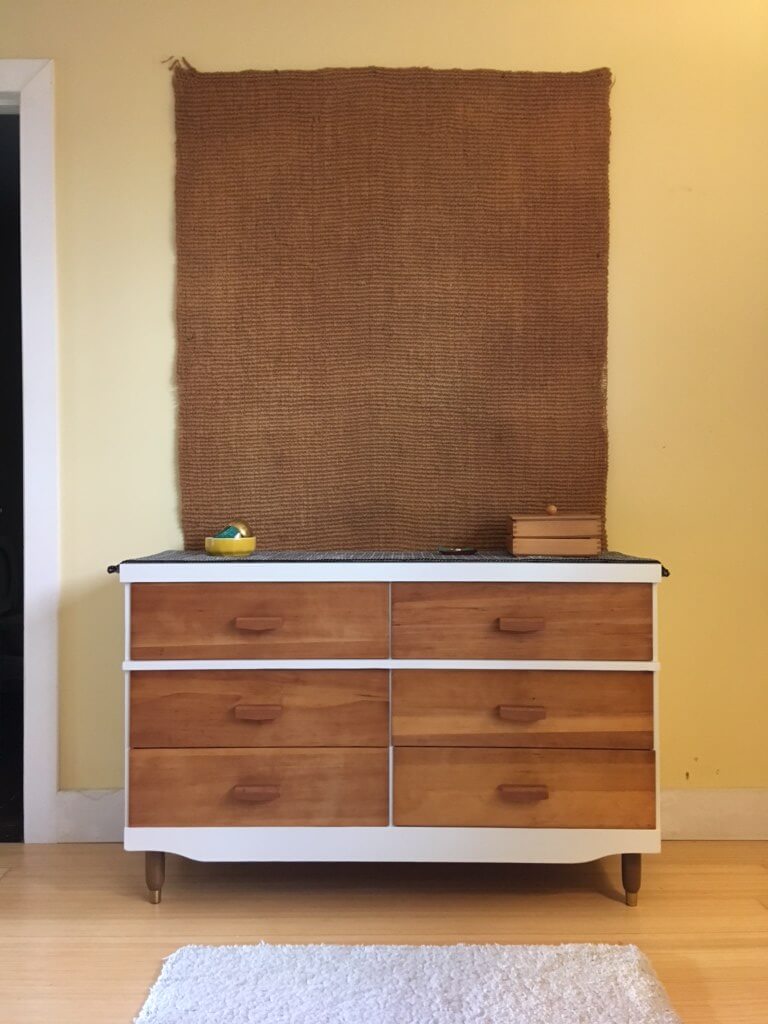
My plan from the beginning was to brush the entire body with a lovely semi-gloss, water-based, interior white, and apply only a clear finish on the cedar I found on the drawer faces.

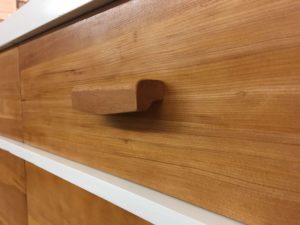
To begin, I took out all the drawers, repaired them, and sanded each face with an orbital sander until it was smooth, raw wood. I used 100 grit sandpaper first to get all the way through the laminate, then used 120,150, 220, and then switched to an electric palm sander with 320 grit. To remove the dust, compressed air was used in between each sanding followed by a tack cloth. I applied about four coats of Tru-Oil, lightly sanding with 2500 grit between each coat until the finish was polished, and very pretty. It was amazing to think how all that beautiful wood was once hidden behind factory-applied laminate.
To sand the glossy laminate on the body of the dresser enough for paint to stick, I used the orbital sander with 220 and then 320 grit sandpaper, making sure every inch of gloss was totally scoured. I discovered that the sides were not formica, or even wood, but masonite covered in paper laminate. So, I orbital sanded only enough to see the masonite, using 150, 220, then palm sanded with 320 grit sandpaper. To remove all the dust, I used compressed air, a damp rag, and then tack cloth after it was completely dry. Where the electric sanders could not reach, I sanded by hand. Now I was ready to prime.
To apply two coats of primer for extra durability, I used a Zinsser spray primer instead of brushing, but my forearm and fingers began to freeze up half-way through all that spray painting. I lightly hand sanded the primed body with 400 grit sandpaper and wiped it with a tack cloth.
During the first coat of painting, I was frustrated that I kept finding pieces of fuzz on the wet paint. Also, I could not brush the paint on fast enough before it began to cure. When it all dried, I was very disappointed. Tiny fuzz was everywhere and the brush strokes, especially where the paint began to cure too soon, were noticeable as well.

I addressed these issues by using a cabinet scraper across the top to even out the high points and sanded by hand with 320 grit sandpaper in the same direction as the brush strokes, and wiped it all down with a tack cloth. For the second coat, I tried painting with a foam roller brush to eliminate any more brush strokes but ended up with bubbles that never went away, and more fuzz.
Desperate to solve this finish issue, I hand sanded the fuzz and bubbles with 400 grit and tried to hide everything with a clear coat of spray-on semi-gloss. I am an experienced rattle-can operator, but this only left the finish flat in some areas and clumsily glossy in others. I was defeated. It was time to stop. I licked my wounds, priced it low, and put in our gallery.
To get that far in a piece to only have it look like hell was disheartening. But we learn so much from our mistakes when we take risks and try new things. In hindsight:
- I should have brushed on my primer to ease the stress on my overused forearms.
- I didn’t really have the proper paint…It was old, formerly cleaned off of paint rollers, and maybe a bit thick. I may have shaken the can which creates bubbles in water based paints.
- I don’t really have a dust-free environment to tackle sensitive paint projects like these anywhere on site.
- And the uneven clear-coat issue? I have no idea, and I will never do that again.
But, despite all this, with the drawers back in their respective slots the dresser still looked great, the white sides and top looking well with its clear cedar face. And it sold only a few days later! In the meantime, another low value, modernist dresser showed up, but that’s a story for another time.
