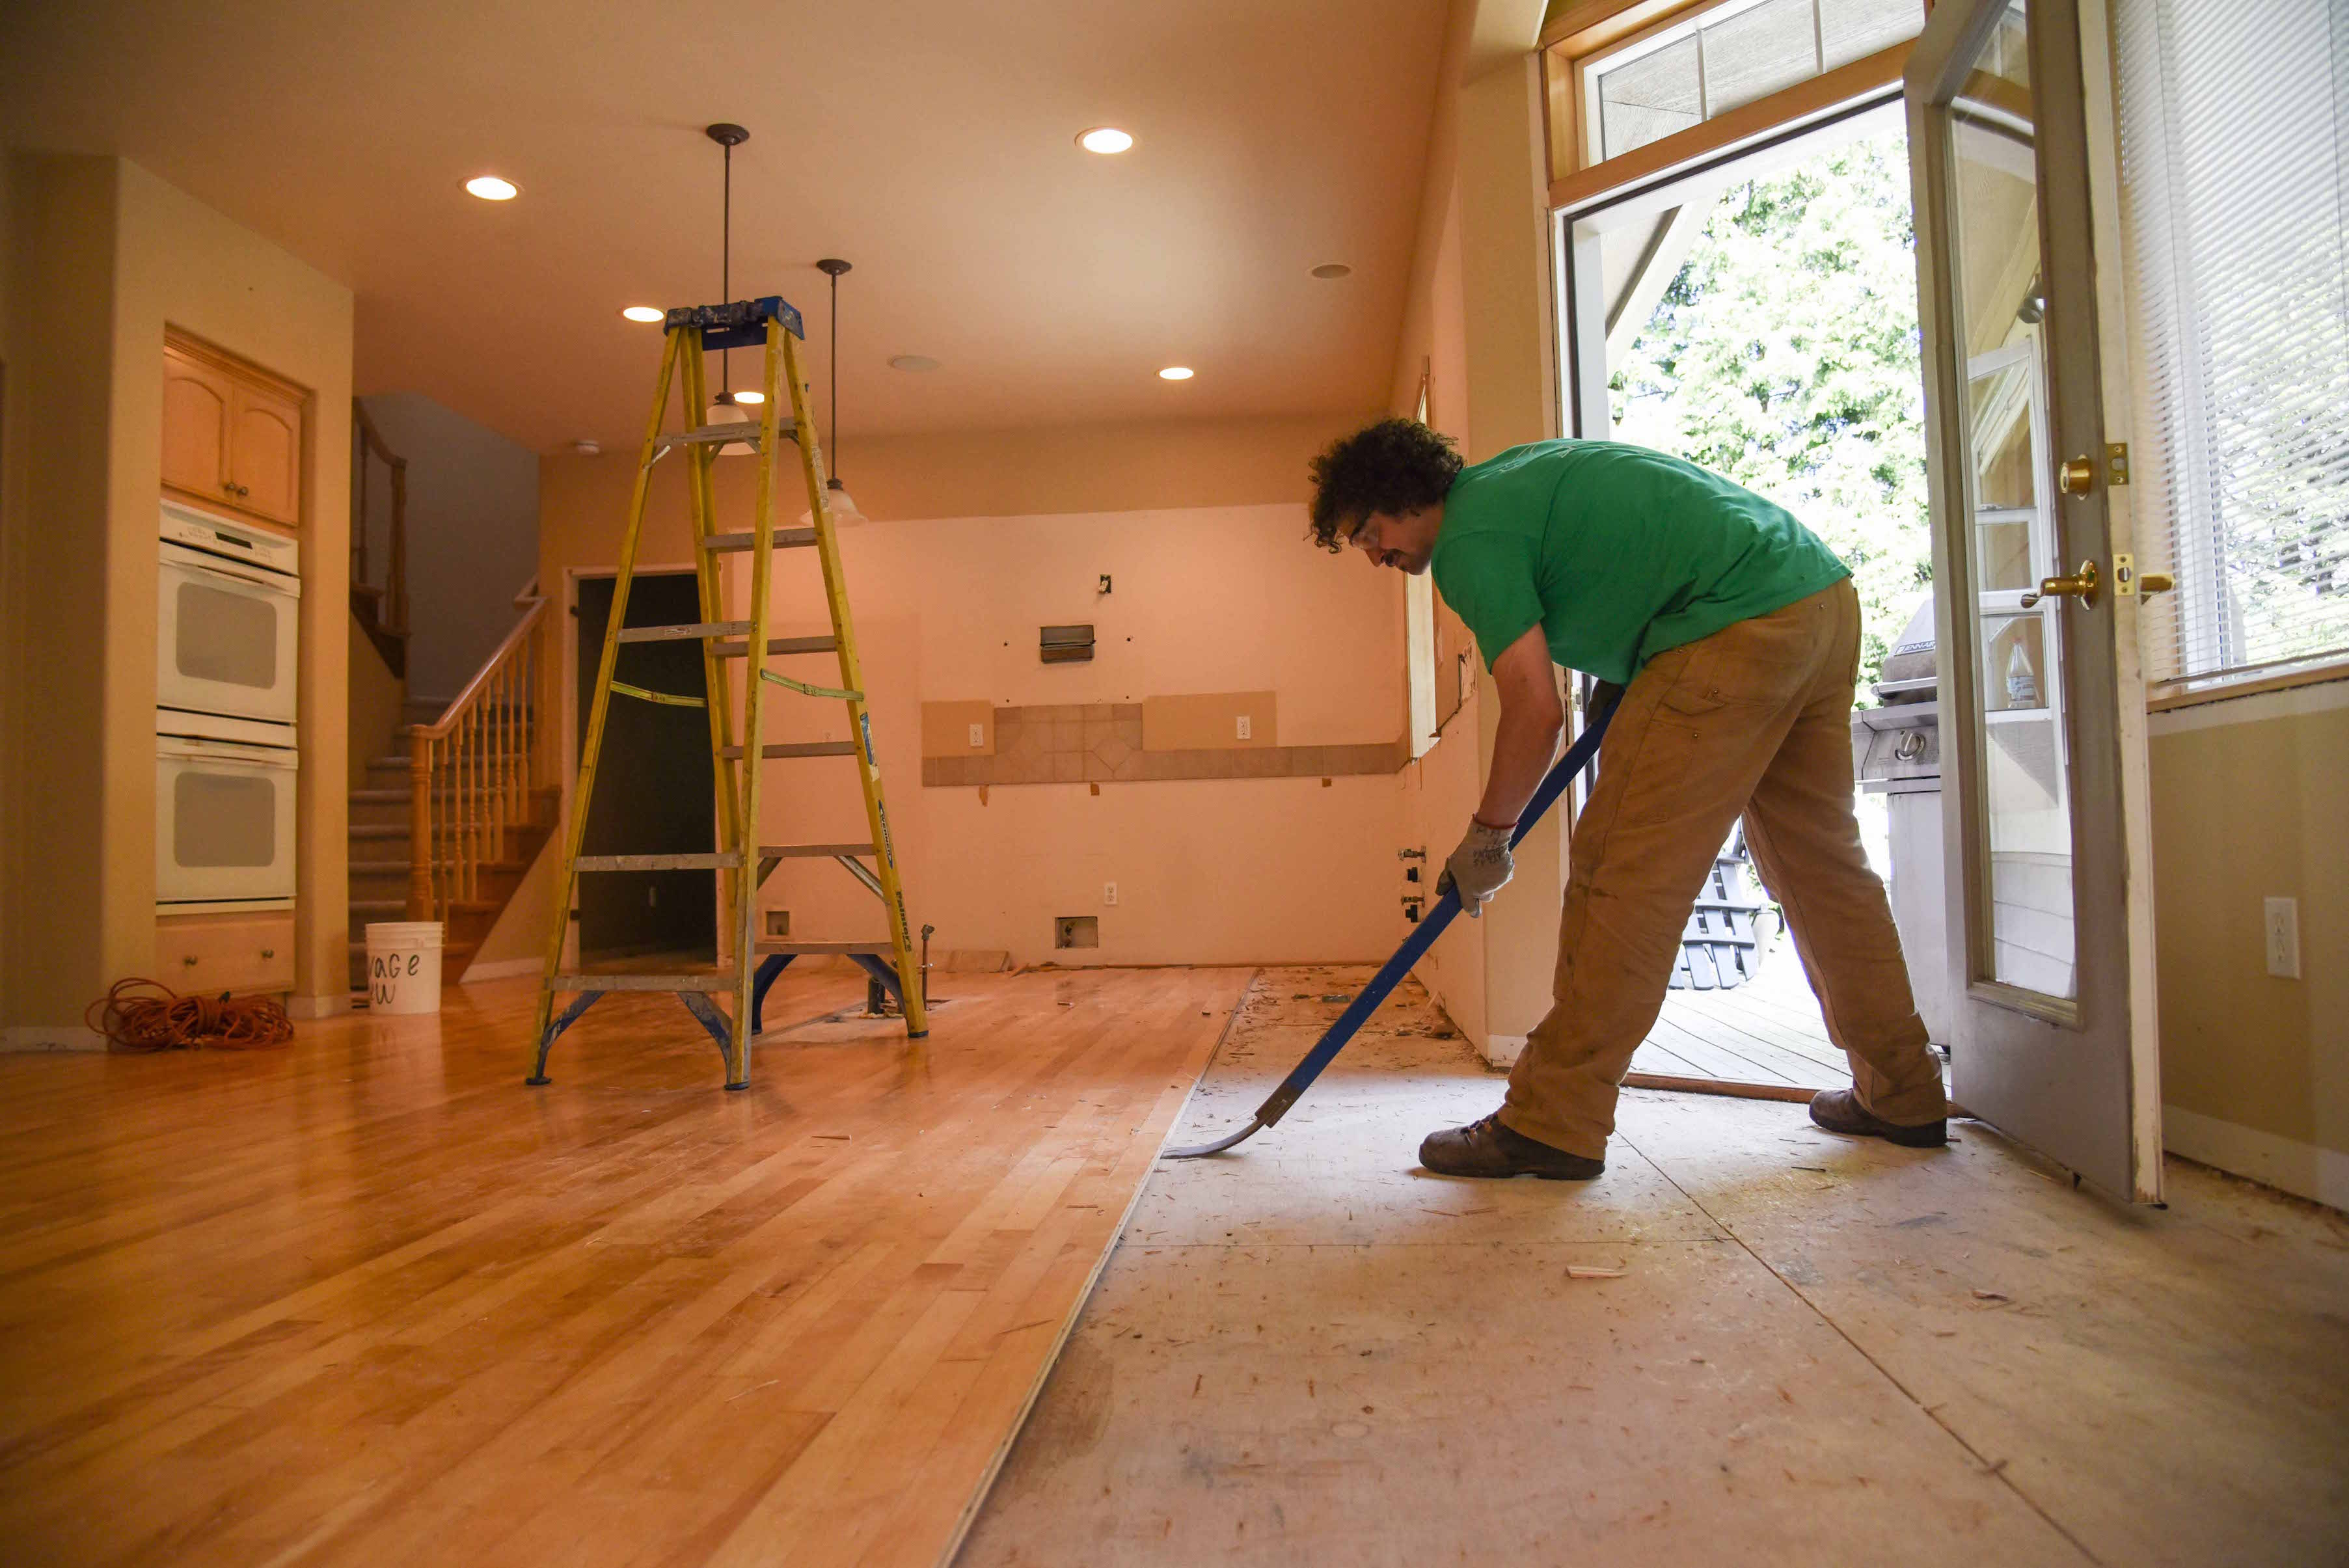
Flooring styles come and go, but one thing is for certain — if you don’t want that old hardwood flooring in your home, someone else probably will. Properly uninstalling wood flooring takes a bit of time, but with some insider tips from the pros it’s easier than you think and a great way to prevent usable material from ending up in the landfill.
Flooring is a good candidate for salvage when the majority of pieces are longer than 6 feet and when the thickness is at least 1/8 inch above the tongue and groove. The tools you’ll need are:
- a hammer
- flat bar (or our favorite tool the burke bar)
- knee pads
- a circular saw and nippers
- PPE – safety glasses, respirator, gloves and sturdy shoes.
A note on salvaging flooring: Flooring, and any other wood for that matter, that has been installed in an interior space for a long time has gone through seasonal changes in temperature making it dry and potentially brittle. It’s important to “wake” the wood before attacking it with hand tools that will result in bending and twisting. Waking wood is done by gently working a pry bar in a twisting motion to move it away from the material it’s affixed to. You are moving it incrementally, reminding each board that it is actually a separate piece all its own, not a part a whole anymore. A proper “waking” should sound like popping, never cracking. Cracking means splitting, or damage and some damage renders the board unusable for reuse – though you can always repurpose it. While it’s nice to shoot for close to zero damage, it’s common to lose as much as 20% of the material depending on the type of flooring and age.
- Before you begin, remove the trim. To do so, use a sharp utility knife and score the edges of where the trim meets the walls. This helps maintain your sheetrock and plaster, and makes it easier for the trim to come free of any paint buildup, caulk or filler.
- Using a flat bar, slowly “wake” the trim by inserting the flat bar between the trim and wall and gently twisting side to side. When the whole trim piece is pulled from the wall ¼ or more, you can start using the flat bar to pull free of the wall. If you’ll be reinstalling the trim, mark the backsides to help remind you of the placement so that it can easily be put back.
- If you have a circular saw (with the depth properly set to the thickness of your flooring), cut the entire edge of the floor on both ends – not the tongue or groove side, but the ends, so that the flooring never hangs up on the wall as you remove it. This is by no means a must, just a nice option to ease removal if flooring was installed before sheetrock or plaster.
- Before you begin, determine which side of the room the tongue faces. You can find this out by looking at cut-outs in the floor like heat register holes or by destroying a board or two along a wall. The best way to salvage flooring is by prying up the individual pieces with the tongue facing you.
- Many professionals destroy one or two boards along a wall. Set your circular saw to the depth of the flooring and run it down the middle of a floor board along its entire length at the wall. Remove the pieces, pulling any stray nails. This will give you an area to begin.
- Traditionally, flooring is nailed at an angle right through the tongue, but in some cases the nails go through the face of the board. When you have a few pieces or runs pulled up, look for the nails. Place your bar as close as possible to the nails under the board and pry up the wood in the same direction as the angle of the nail.
- The idea here is to retain the integrity of both the tongue AND the groove. The groove is the most vulnerable and easy to damage part of the board. Don’t despair if the groove gets split a bit on the bottom here and there–it still can be used if it is not too bad. To be reinstalled as flooring each salvaged board should retain at least 80% of both tongue groove.
- Begin prying gently, with the pry bar under the tongue. When you are facing the wall, there is not much room to work at first. But as you move along the runs, you will be able to tackle the floor facing the opposite direction. Note: It is difficult to save the first run of flooring so expect some waste until you can get a better purchase on the next run of boards with your flat bar.
- When you have moved away from the cramped wall, you now have room to try other tools to pry the boards up. There are many available but some can be too harsh, trashing the tongue and splitting the dry wood. A simple flat bar, hammer, and a couple of longer crow bars or burke bars do best at maintaining board integrity.
- A pro tip: Once a board has been completely pulled from the subfloor and is free from the tongue of the next board, grab it with your other hand and pull gently at an angle up and away. This will loosen the board and release tension from where it has been attached for so long. Simultaneously wake up the next few feet with your right hand.
- Finish the job by cleaning away any remaining debris. Pull up any remaining nails, pry up any leftover flooring chunks, sweep, vacuum, and fill gaps, holes or uneven bits with filler or floor leveler.
If you are planning to reuse the flooring elsewhere, remove the nails. There are a variety of ways to remove the nails.
- Hit them from the back and use either pliers or claw hammer to gingerly pull them free of the board, taking care not to damage the face or tongue.
- Using grinders, grind the nail off on the bottom of the board, going into the wood a hair to ensure nothing protrudes out the bottom.
- Newer nails, like brad nails, have softer metal and are difficult to pull. They can be snipped and then pushed back into the wood with a nail punch.
When all hardware is removed, divide the flooring into three piles based on quality to make your re-installation process easier.
- First grade – Boards with male & female grooves at both end, 80% of both the tongue and groove are intact. These will be the pieces you place in the middle.
- Second grade – Boards with a cut on either end. Likely these pieces were cut with your circular saw or were butted up against wall. Separate these pieces into two piles, cut on left side, cut on right side. When you’re reusing the flooring elsewhere you can then use the cut pieces up against walls.
- Third grade – Boards that sustained heavy damage to the tongue or groove or were cut on both sides. These pieces will only be useful if you need small pieces here and there. If not installed properly they will warp and creak.