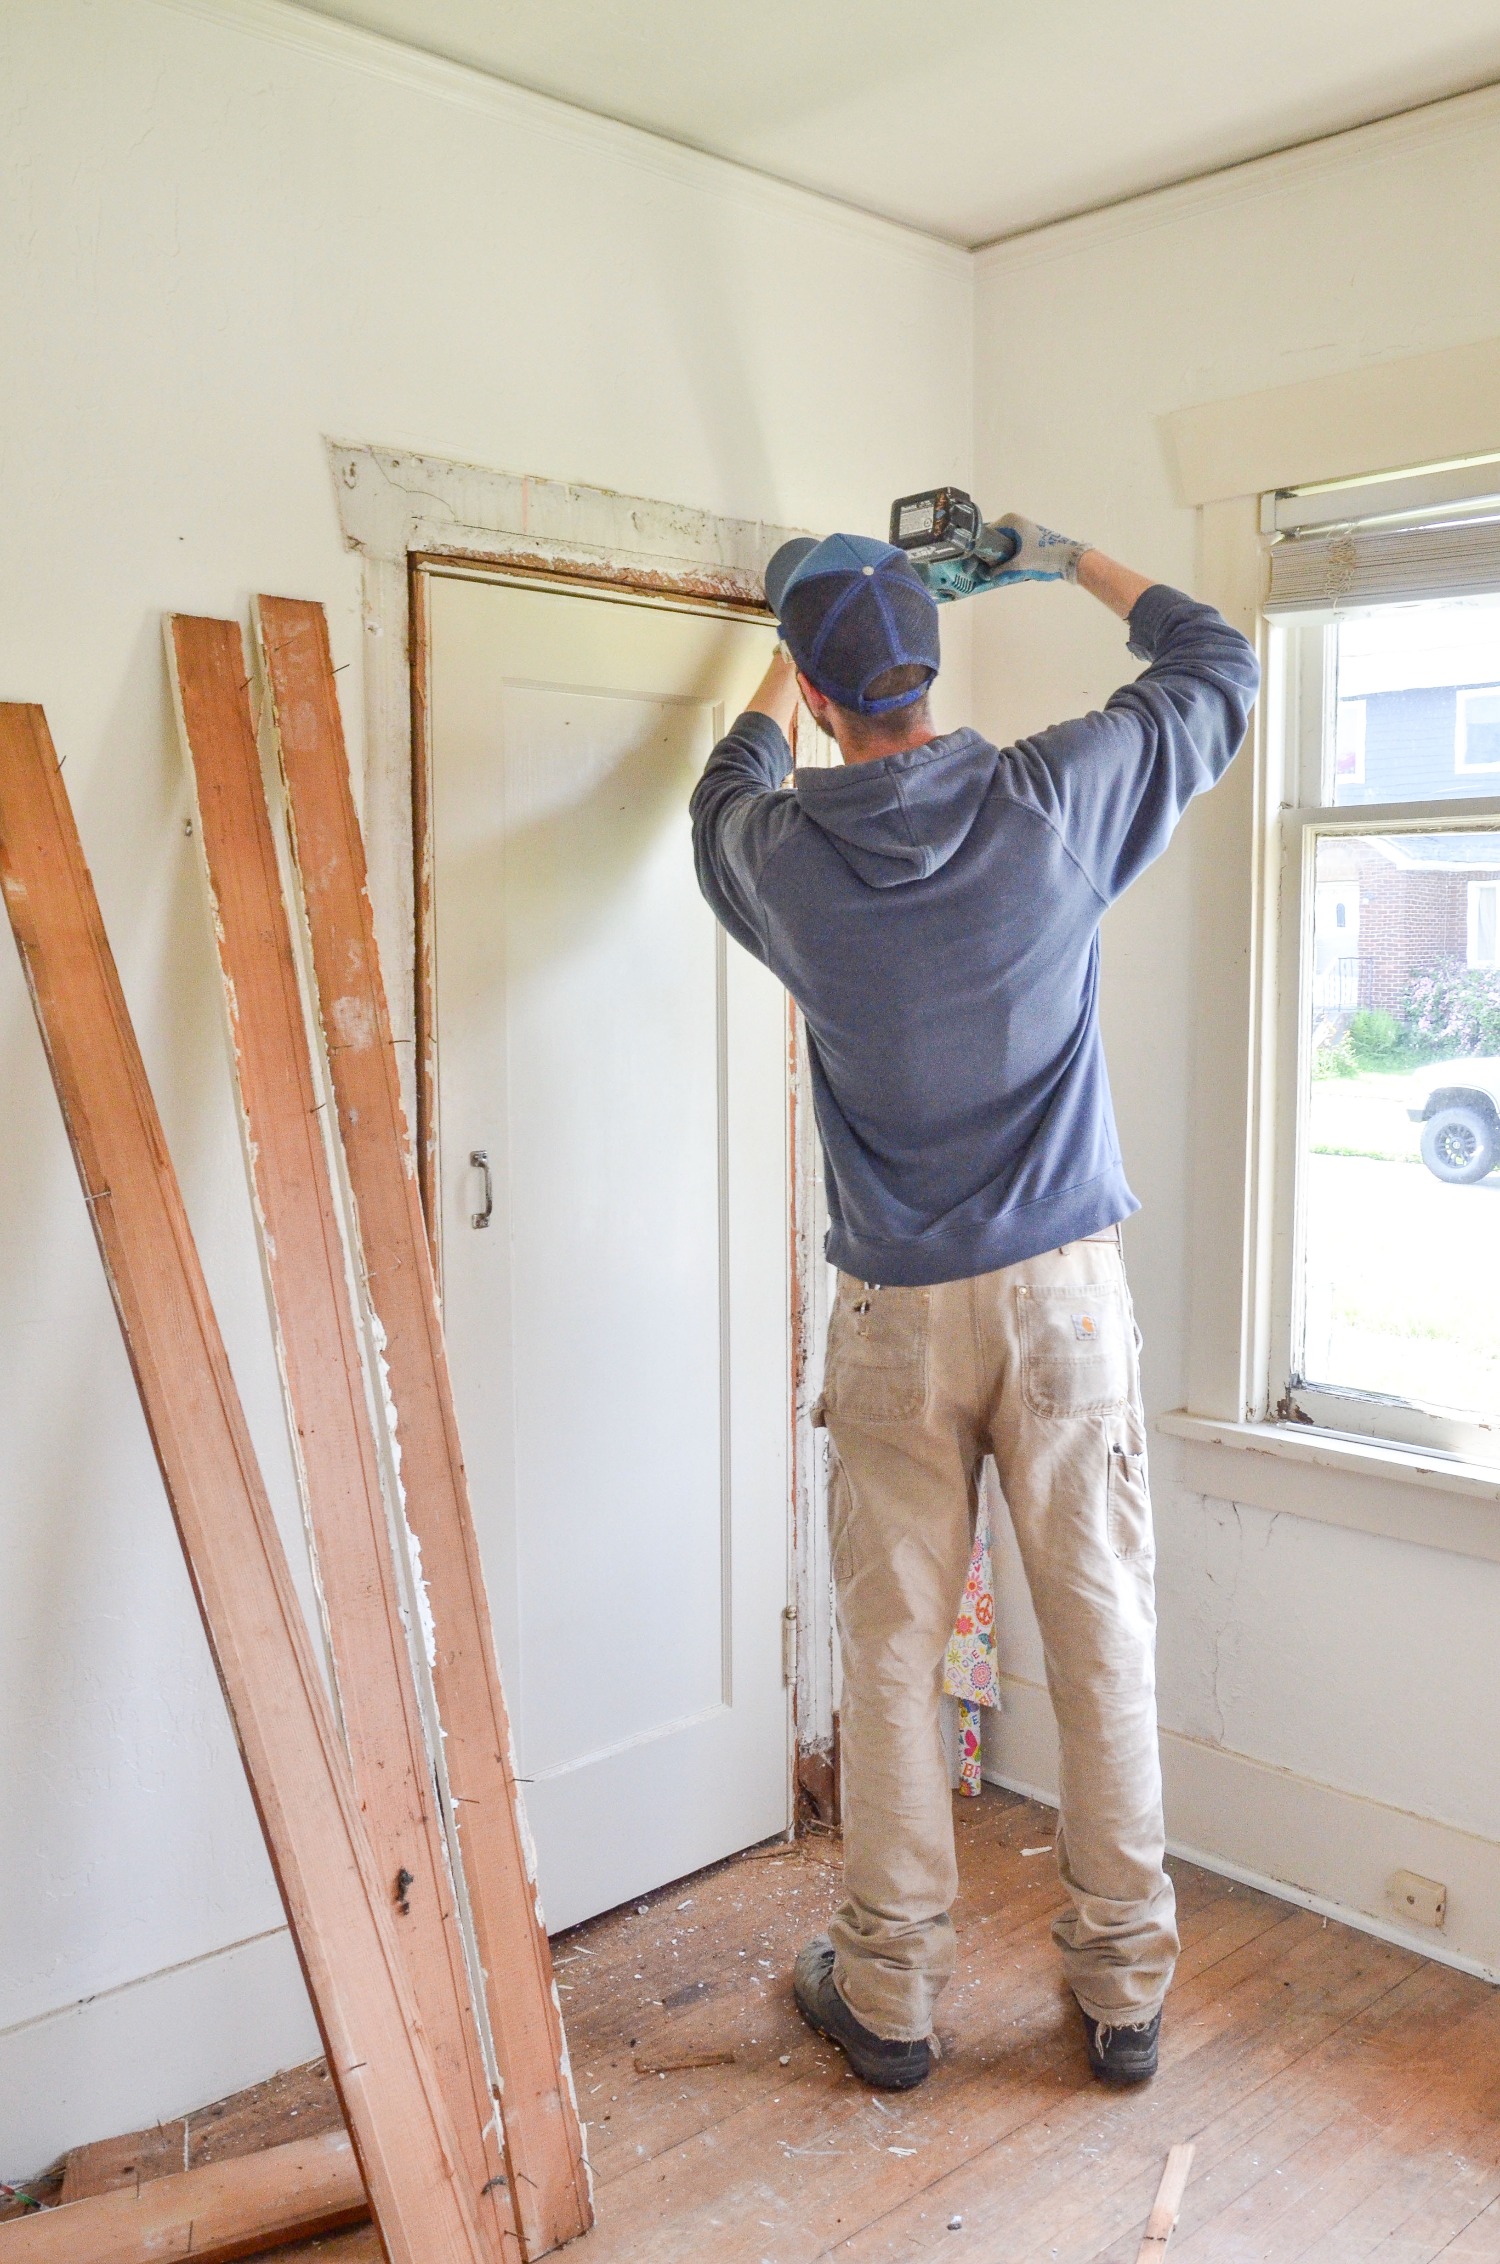
Old homes are a testament to the craftsmanship and artistry of bygone eras. Sometimes you need to update fixtures to increase your home’s energy efficiency and fit with your style. If you need to install a new door, but it doesn’t fit, chances are that you’ll need to uninstall a door jamb – the frame that holds a door in place.
The door jamb is the top, sides and bottom of the door frame that is fastened to the framing of the house and often covered in trim. The horizontal top section is called a head jamb. The side sections are called side jambs. And the bottom is called the sill. Door jambs are often painted and styled to match the door and come in wood, aluminum, fiberglass or composite material.
Here’s a step by step guide to help you uninstall a door jamb without splitting the wood. The tools you’ll need are a hammer, utility knife, screwdriver, pry bar, and reciprocating saw. And remember, always wear your PPE – safety glasses, respirator, gloves and sturdy shoes.
- Before you begin, remove your door panel by knocking out the hinge pins. If they’re coated in paint or sealer, use a utility knife to score the seam and a screwdriver or pry bar to gently work the hinge free. If the hinge is stuck firm, use a blunt surface like a large nail or punch and knock the hinge out from below.
- Next, remove the trim and plinth blocks on both sides of the door. To help prevent paint and plaster from peeling or tearing, use a sharp utility knife and score the edges of where the trim meets the walls. Using a thin pry bar, gently twist the bar side to side between the trim and wall– not outwards as this can split the wood. If you’ll be reinstalling the trim, mark the backsides to help remind you of the placement so that it can easily be put back.
- If needed, remove any material at the base of the jamb blocking the free movement of the jamb, such as carpet, carpet pad, linoleum, carpet tack strips or threshold.
- If the jamb goes into the floor, consider using the reciprocating saw to cut the jamb level with the floor. Exterior doors are most often installed with a threshold attached, so leave these attached to the jamb unit and remove screws that hold it to the floor.
- Remove any screws holding the jamb in place. Often these are hidden behind painted over putty or at the striker plate area.
- Start removing the jamb by inserting the pry bar between the jamb and stud. Hit it gently with the hammer to help relieve tension. Work the bar up and down, twisting gently to help “wake up” the frozen jamb. Evenly widen the gap on both of the side jambs just enough to insert a reciprocating saw blade.
- Use the reciprocating saw in between the jamb and stud to cut through nails holding the jamb in place. Skip past the hinge to avoid cutting the short hinge screws. Do this all the way around the jamb and then wiggle the jamb towards you feeling and listening for tension or cracking of the jamb. If you feel resistance, check for more hardware. Very rarely jambs are fastened through the top of the jamb, but each door and house is different. Some jams, even after using a reciprocating saw, are so tightly held with shims that they will put up a fight. With patience you’ll succeed.
- After the jamb is removed, ensure all nails and screws are removed to prevent injuries.
To learn more about switching out doors, read this blog about installing a door and this one about choosing a new door.
