Author: Vic Cassar (she/they) – local reclaimed materials artist
Currently, I’m sitting on my back porch sipping a cup of joe and admiring my beautiful, frankensteined rain barrel. For this DIY project, I used a recycling bin from The RE Store, plastic mesh from ginger root packaging, duct tape, and cut-up beer cans. She is perfectly imperfect. A win for my wallet, my water bill, and our local ecosystem.
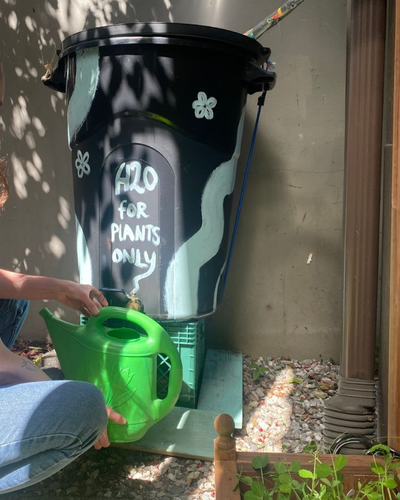
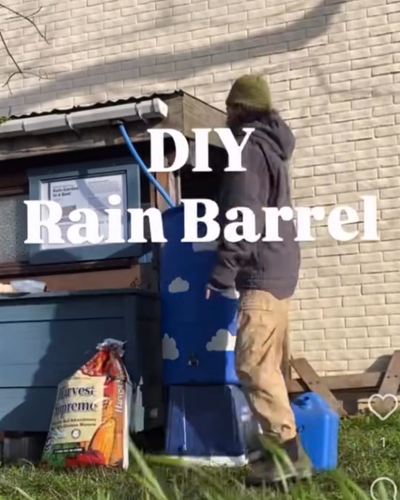
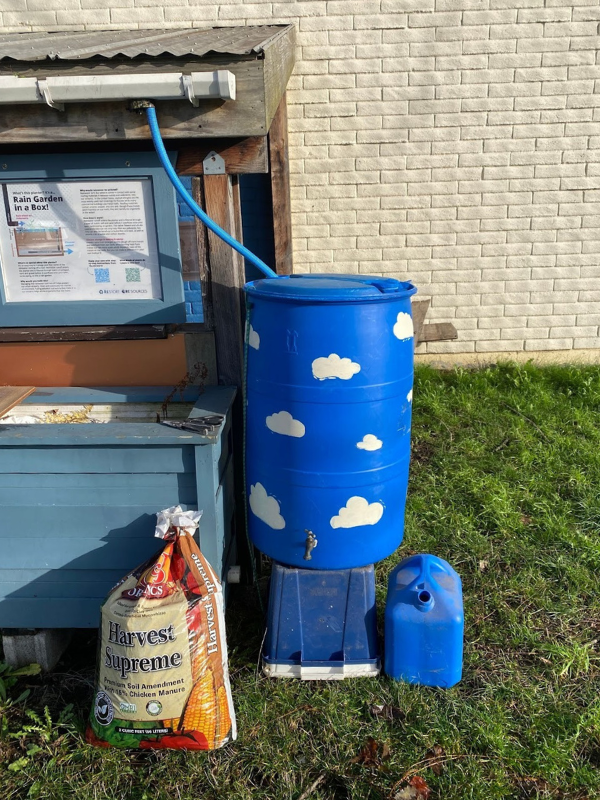
In just two days of stormy weather, I collected 30 gallons of crystal-clear rainwater. I built this rain barrel using 100% upcycled materials, and you can too! I’ll show you how—this time using an even bigger and better 60-gallon container.
Materials

Here are the things you will need to get started:
- 60-gallon reclaimed barrel from The RE Store: $20
- Power drill
- Mesh
- Optional clear hose for overflow found in The RE Store’s garden section
- Optional caulk or rubber washer to prevent leaks around the spigot
- Spigot: $10-$20 (often less if used)
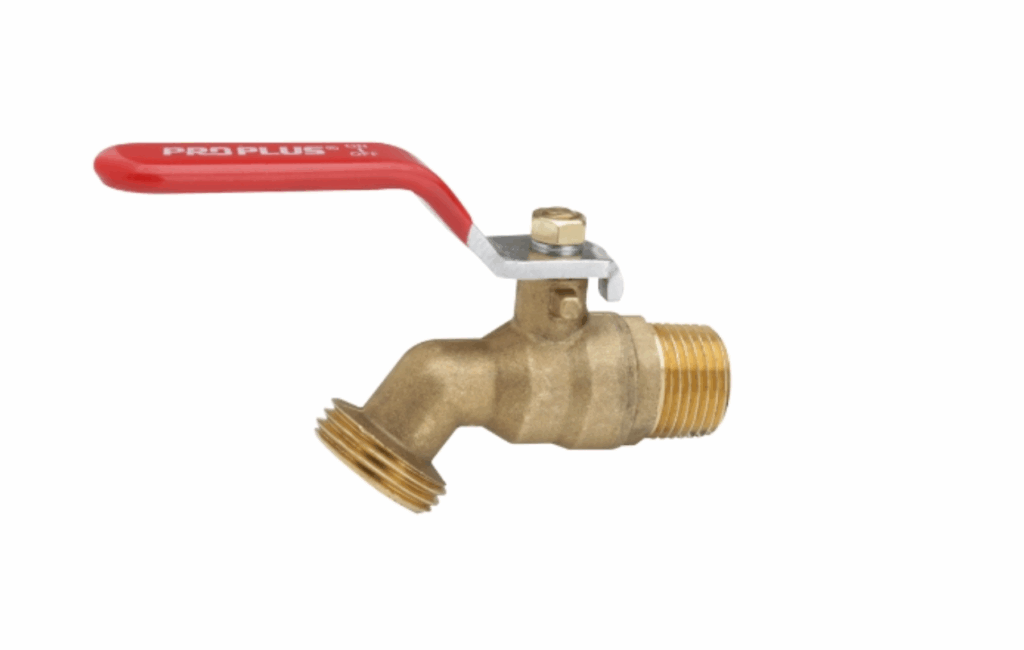
A ball-valve spigot is ideal since they turn water on and off quickly, compared to other types that require several twists.
Additional Materials
- Milk crate, cinder blocks, or anything sturdy for the barrel to sit on
- Bungee cords to secure the barrel to its base and/or a heavy rock inside the barrel
- Optional paint for decorating
→ Use your imagination! Alternative materials work great here.
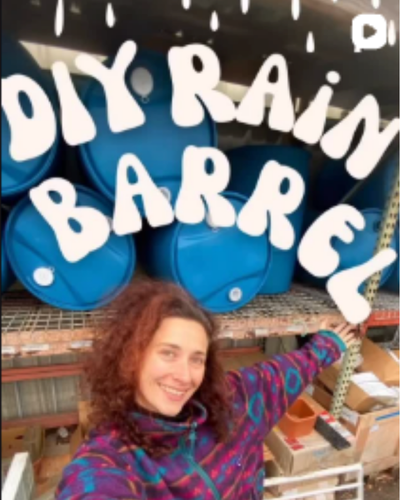
Earlier this year, The RE Store partnered with a local business to be a part of their Manufacturing Waste Diversion Program, which led to an abundance of 60-gallon barrels in front of their warehouse. These barrels previously contained soy sauce and are mostly clean, though they could use a quick spray-down on the inside before starting your project. They’re lightweight and easy to drill into and making them perfect for a DIY rain barrel!
Step-by-Step Instructions
- Step 1: Clean or wipe down the inside and outside of the barrel. Lay down a tarp to catch plastic shavings from drilling.
- Step 2: Drill a hole a few inches above the barrel’s base, slightly smaller than the spigot’s diameter. Screw the spigot in tightly. Add caulk or a rubber washer if needed to prevent leaks.
- Step 3: Connect the barrel to a downspout using a specialized attachment (available online), DIY your own setup, or look for natural opportunities around your house—like a leaky gutter or an area that overflows during heavy rain.
- Step 4: Drill a hole on the side of the barrel near the top to allow overflow to exit. You can attach a clear hose to direct excess water to a second barrel or back toward your downspout.
Want to see it in action?
Watch Part 1 & 2 on Instagram:
Shout out to The RE Store
A big thank you to The RE Store for coordinating this collaboration and for creating a vibrant culture of reuse in our community. They are such a pillar in our town, providing artists and builders with a treasure trove of material, while diverting a ton of reusable materials from the landfill.
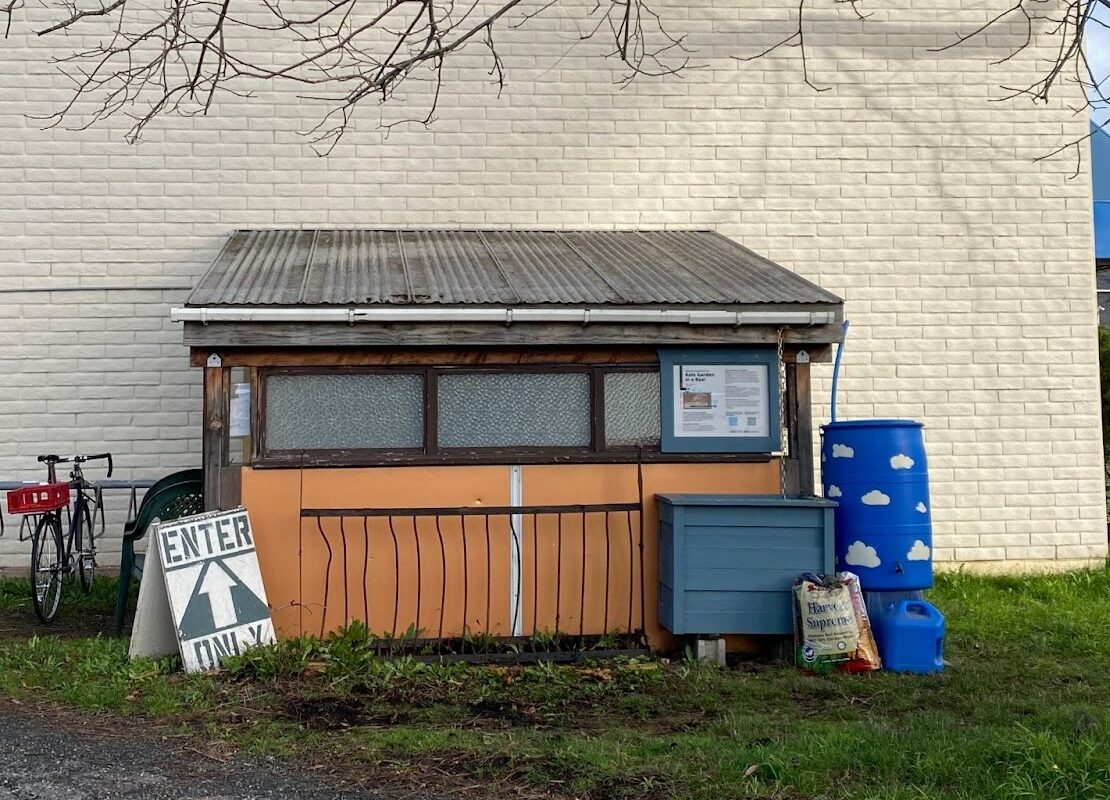
Come check it out in person!
To see our rain barrel IRL, visit the Rain Collection Display in The RE Store parking lot at 2309 Meridian Street, Bellingham, WA 98225.
Need a helping hand?
Don’t have time to make your own DIY rain barrel using reclaimed materials, or want extra help?
Click the button below to hire me, Vic Cassar, a local eco-artist and handywoman.
Looking for another reuse-friendly DIY?
Check out our other guide on refinishing veneer furniture.