The days are warm, the cool evenings long, and you’re spending more and more time in your yard. So it’s about time that you finally address that shed. You know what shed I’m talking about. That space-taker-upper in your backyard that has become a moss terrarium and ant farm all in one. Sure, you’ve still got some rusty tools in there, but wouldn’t a fire pit be a better use of the space? These easy steps will help you deconstruct your shed in no time!
Step 1: Planning & Set up
Trying to salvage reusable parts from a shed isn’t as easy as building it. We recommend mapping out the process before rushing to your shed with tools in hand. Here are some first steps:
- Identify the structural and non-structural materials. Structural items are part of what holds the shed up and together while non-structural materials can be removed without all or parts of the shed collapsing. Nonstructural items include windows, doors, shelving, and light fixtures. It also includes any tools, materials, and more that you’ve stored inside the shed. After you’re done with planning and set up, remove all non-structural items.
- Identify potential hazards. Does your shed have electricity or running water? What about mold, insect damage, lead paint or asbestos? You’ll want to shut off electricity or running water and carefully plan out how to remove plumbing and wiring. If your shed was built before 1980 there’s a good chance that lead or asbestos was used in its construction. If you’re not sure, it would be wise to test it before you begin. Some sheds may also require a demolition permit from the City Of Bellingham office and/or the Northwest Clean Air Agency depending on their size, location, or chemical content. Learn more about potential contaminants on the Washington State Department of Health website.
- Determine what you want to salvage. Depending on the condition of your shed, you may want to save all or part of it for reuse later. You’ll need to properly dispose of hazardous materials, but lumber that’s free of mold and insect damage can be used again.
- Determine the order in which the shed was constructed. Often times deconstructing is done in the opposite order. We usually start by removing nonstructural parts, then the roof, the siding, and finally the framing. This order maximizes safety by maintaining the integrity of the structure for as long as possible and minimizes damage to the salvageable materials.
- Get your tools and personal protective equipment (PPE) in order. The most common tools our salvage crew uses for sheds are rubber mallets, flat pry bars, cat’s paws, reciprocating saws, circular saws, impact drivers, roofing shovels and burke bars. You’ll also want eye protection, ear protection, gloves, and possibly a dust mask or respirator. And remember – if you suspect there might be lead paint, asbestos, or other hazardous materials, you’ll need to make some considerations in wearing protective gear or possibly containing or abating the hazardous materials.
- Prioritize an easy clean up – Prep the site with tarps, covering as much ground as possible to ensure you catch any debris you may generate. Trust us, this will make clean up at the end so much easier. If you know you have both junk and good material, set up staging areas for each to keep everything organized.
Step 2: The roof
After you’ve removed non-structural elements, begin with the roof. By starting with the roof first, you’ll have the sheer strength of the siding holding the framing together. If you take off the siding before the roof you might find the shed is wobbly and unstable.
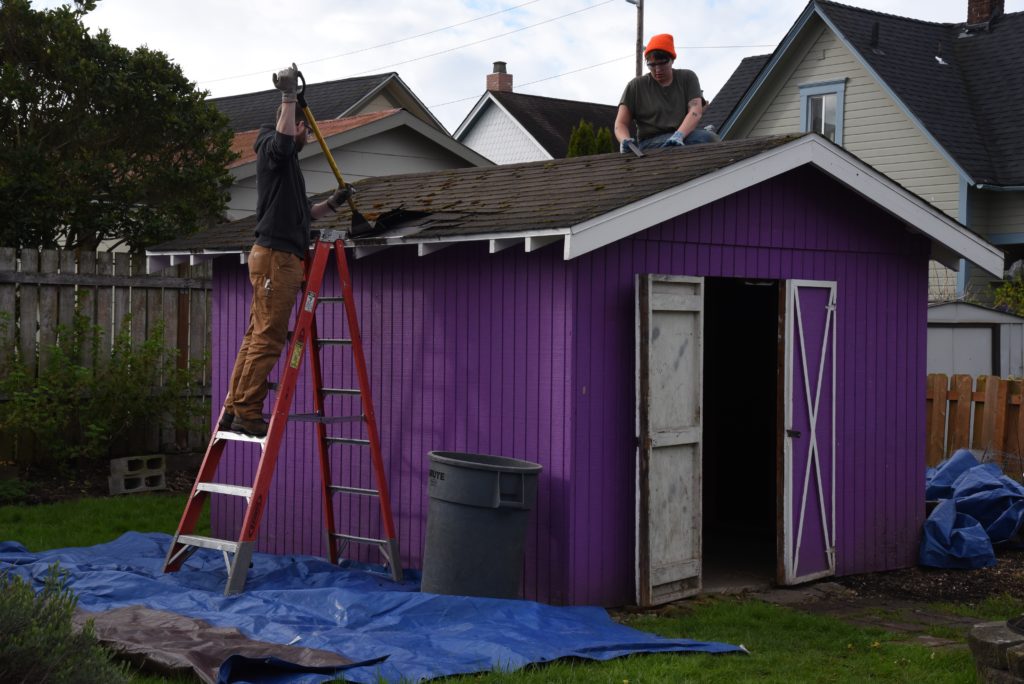
Start by removing the shingles. You can either get on top of the roof, or use an A-frame ladder and stand next to the structure. Either way, ensure you have the proper safety gear to keep you safe in case of a fall. A ground tarp will ensure that all pieces, big and small, are contained.
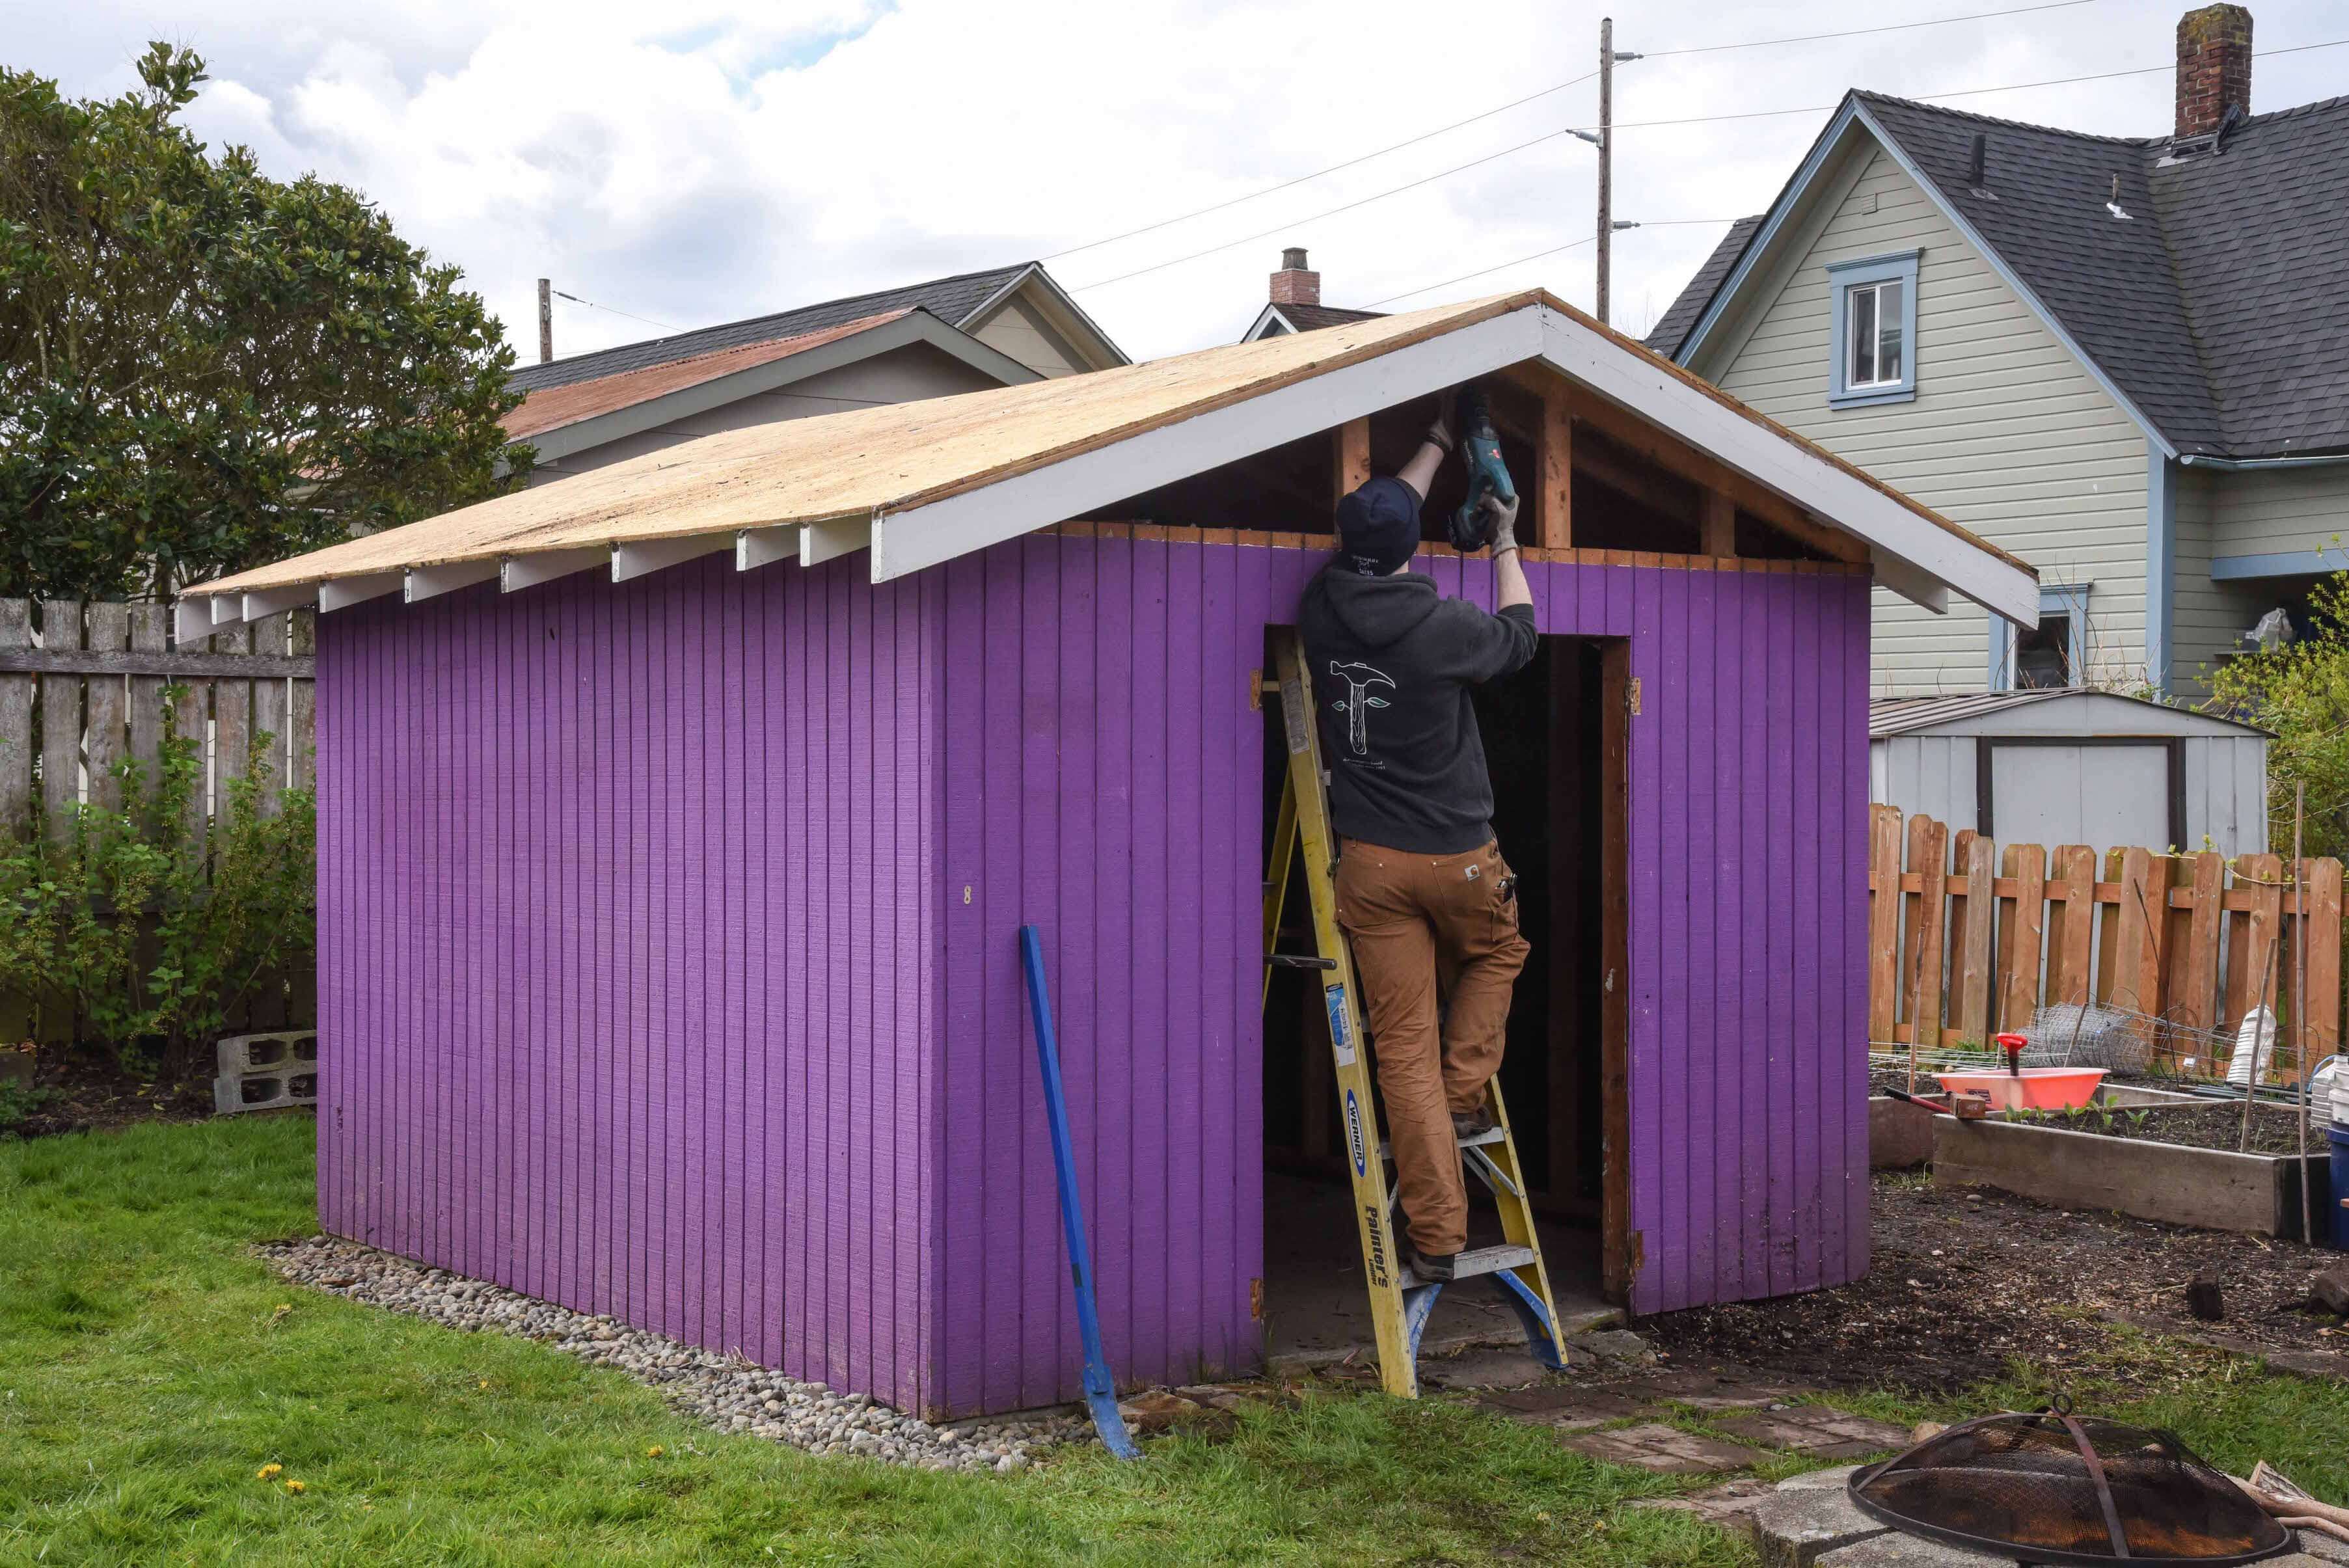
A roofing shovel will pry up shingles and roofing nails simultaneously. A flat bar or square shovel also does the job. You want to get under the shingle from the bottom and pry it upwards. After the shingles, you’ll move on to peeling up the tar paper, then typically a layer of plywood or OSB (Oriented Strand Board) on rows of skip sheathing.
OSB can usually be pulled up with a flat bar or burke bar if it’s nailed down, but you may need a screw driver depending on hardware used. A circular saw works well if the hardware is hard to get to. This step is best performed while on top of the roof, as it’s more tiring to work overhead from the inside of the shed.
Skip sheathing can be removed in the same manner. Skip sheathing tends to be somewhat brittle, so take your time in prying them up if you want to salvage them. Try to place your flat bar/burke bar as close to the fastener head as possible, ideally directly below the nail between the board and the roof truss. It’s useful to use a rubber mallet to help wedge in the bar.
Step 3: Siding
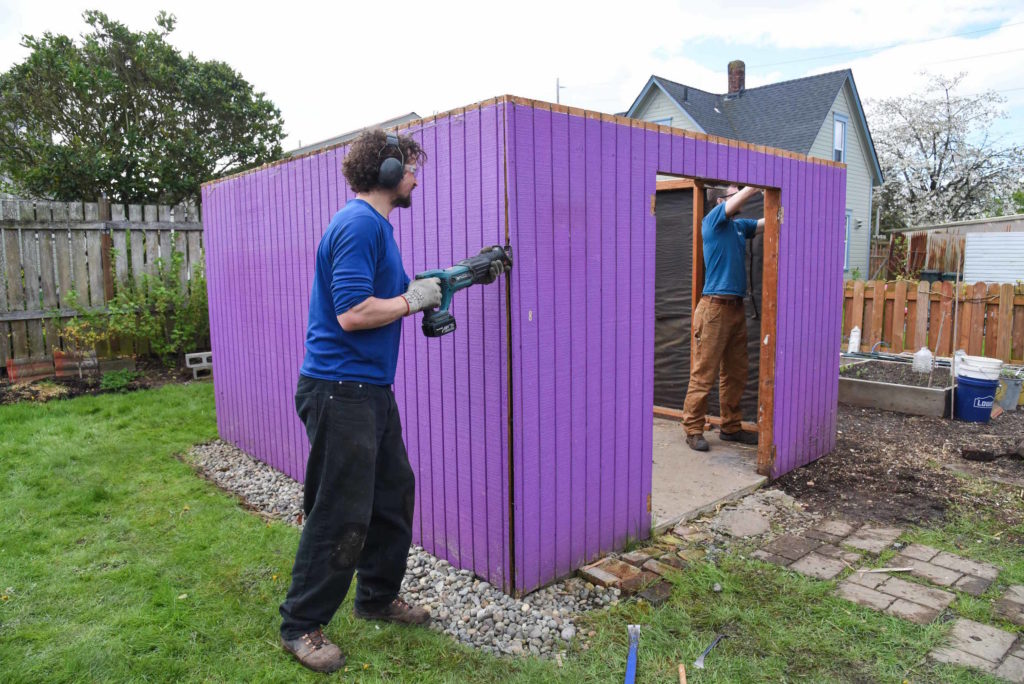
Removing siding can be a delicate process. Like with the skip sheathing, pry as close to the fasteners as possible and take your time. A cat’s paw with a finned end is a very useful tool for this. Siding is one of the items you’ll want to decide if you want to keep or not. If you want to keep it, be sure to move slowly. Some siding interlocks in tongue and groove or channel joints. These have to be removed in a way that doesn’t put stress on the joints. It’s often best to loosen several rows at a time until each row can be pulled free. We like to use a rubber mallet from the inside to gently knock the siding away from the studs. You can also use a board to disperse the impact of the mallet across multiple rows. Often times siding on old sheds becomes brittle, particularly on its sun-facing sides.
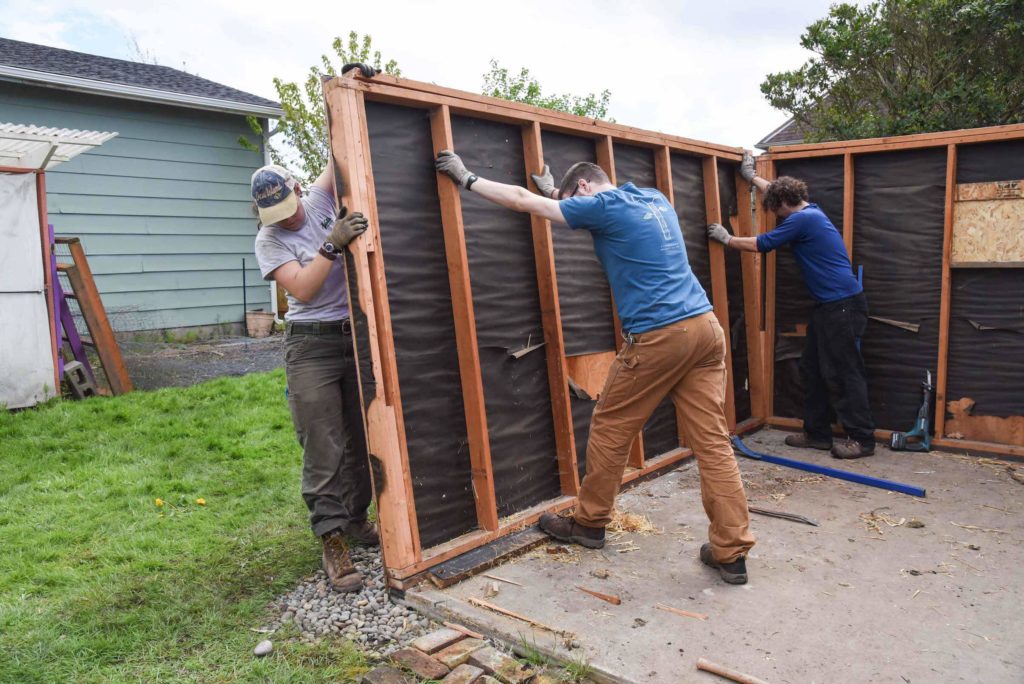
Step 4: Framing
Now that the roofing and siding is removed, step back and look at the frame.Deconstructing framing is a bit like a game of Jenga – but you’re allowed to break the rules and work from the top down. The roof trusses are usually a good place to start. The trusses can be pried apart, but it is often worthwhile to cut them free with a saw as the ends tend to be structurally compromised by fasteners.
After the trusses, move on to the walls. Work on one wall at a time, starting with the top plate. The top plate can be removed by creating a gap between the it and the stud by striking it from underneath with a hammer, and then prying it free with a burke or flat bar. This will also free up the top of the studs, which can usually be tipped over with minimal effort and pulled away from the bottom plate by their own leverage.
Be careful to not free too much framing at once, as you don’t want a wall or truss to unexpectedly fall. The bottom plate is often secured to the foundation by rusty nuts and bolts. If you’re having trouble removing the nuts with a standard crescent or socket wrench, try using a breaker bar with a longer handle to increase leverage, or spraying the threads with a penetrant such as PB B’laster.
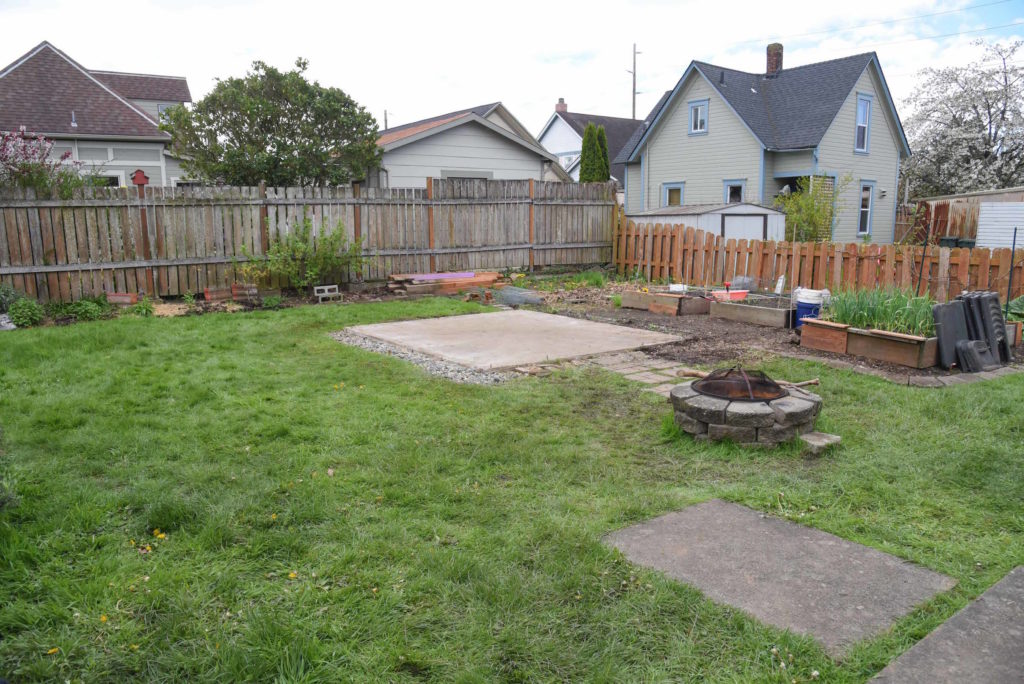
Step 5: Clean up and sorting
Congratulations, your shed is down! Before you start dreaming of what you’ll do with the newly made space you’ll have to find a place for all of the materials. A common old shed will yield a decent amount of reusable lumber and sheet goods. If you’re planning on storing them to reuse yourself, it can be nice to remove the remaining fasteners to make them ready to use and conserve storage space. Keep an eye out for bug damage, rot, and mold as these can spread to other nearby materials. If you don’t have any use for the reusable materials you could consider bringing them into the RE Store for donation or requesting a free pickup. Taking apart a shed will usually generate a fair amount of waste as well, but fortunately much of it can be recycled. Here is a list of recycling services available in Whatcom County. Or if you’re reading this and finding it’s more work than you’d like to take on, you may want to consider hiring our salvage crew! Get in touch with our Salvage Services here.